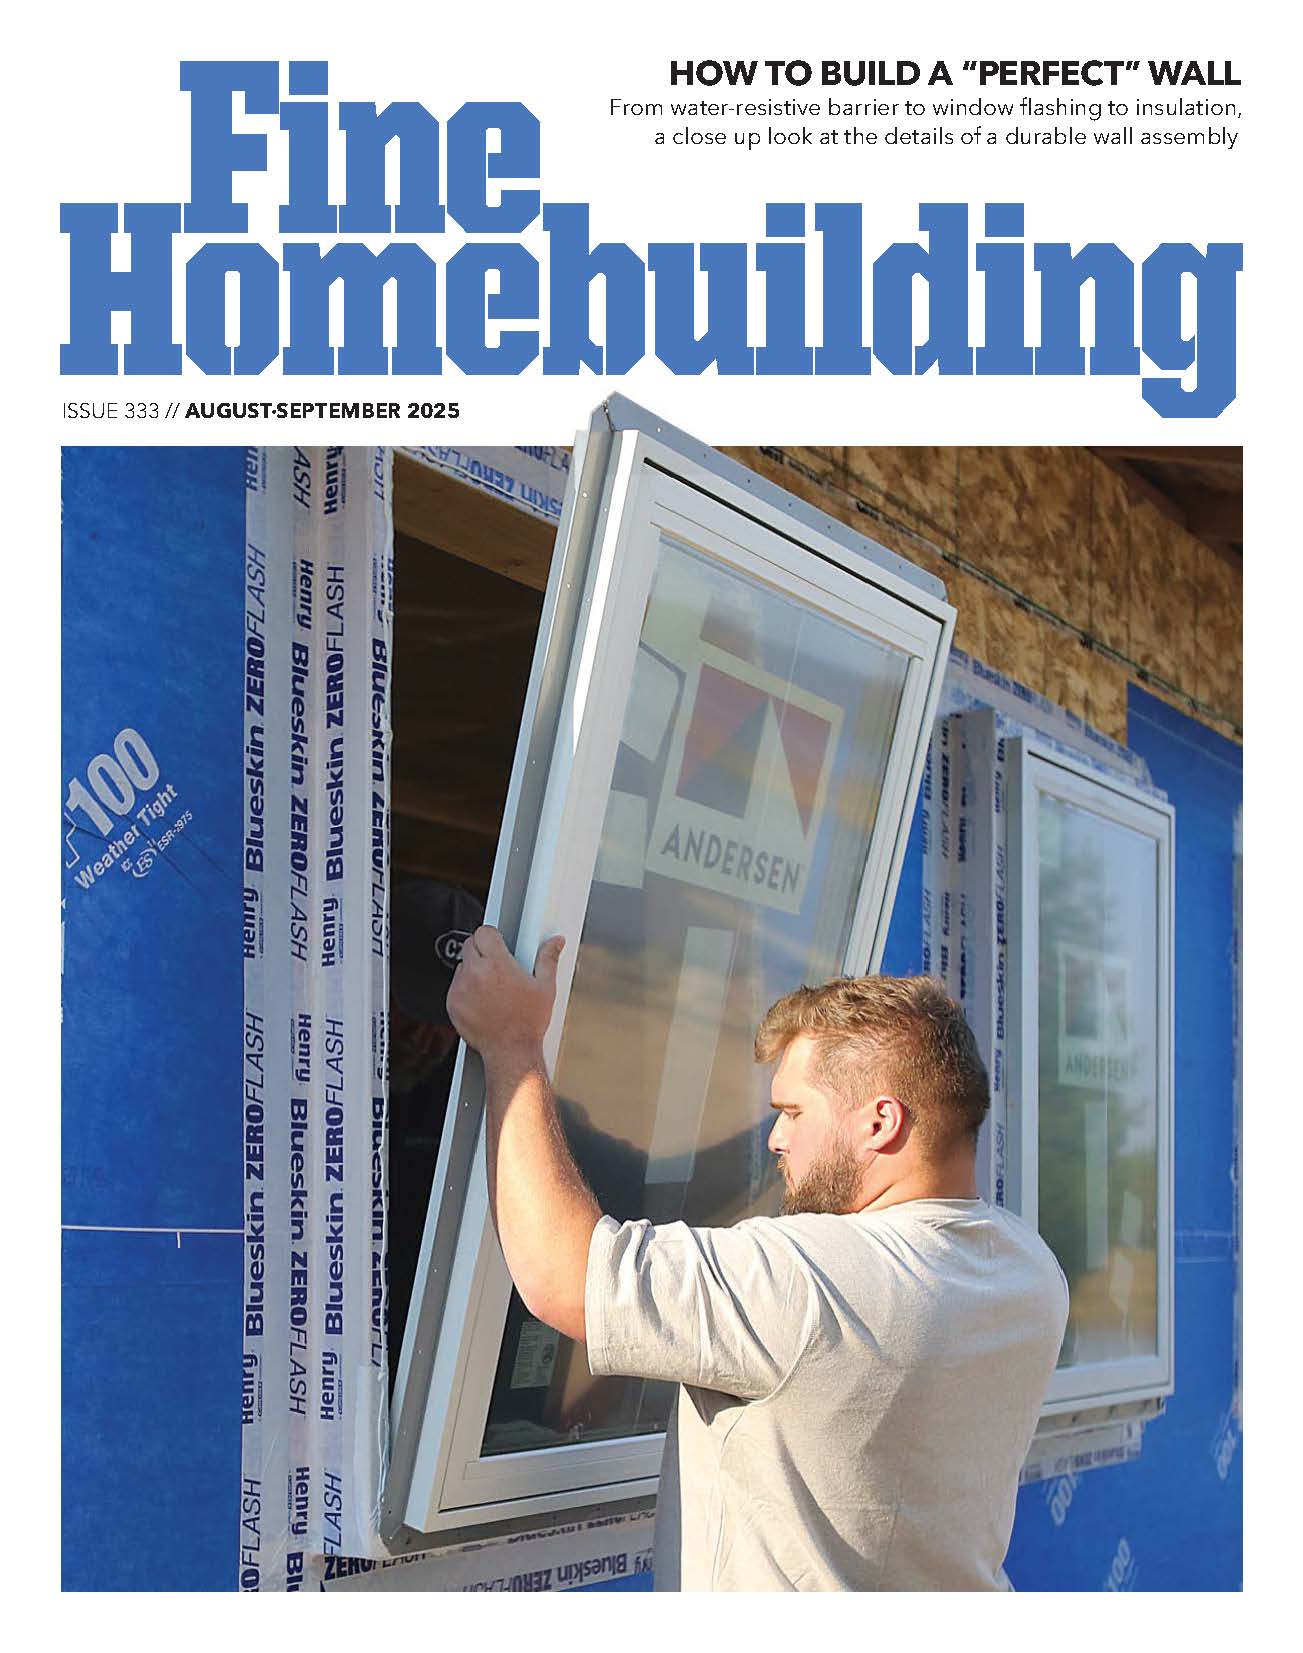
How to Place, Shim, and Fasten a Flanged Window
Proper sequencing is crucial when it comes to installing a flanged window.
Sponsored by Andersen Windows & Doors
Learn how to install a flanged window so it sits plumb and square, ensuring smooth operation and long-term durability. This video guide walks you through the recommended sequencing and methodology for each step of the process with an Andersen flanged window. Plus discover recommended tools and products to help get the job done right like.
Here’s the Transcript
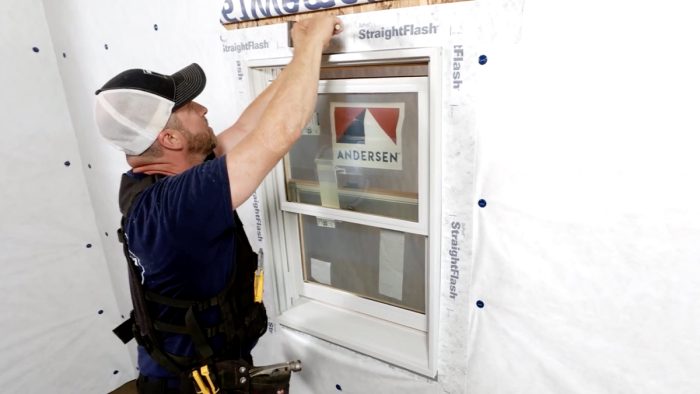
Installing a flanged window plumb and level is easy to accomplish when you follow the right sequencing. Here’s how: For alignment, mark top center of the rough opening and top center on the window flange. Then install shims at the sill pan to support the window.
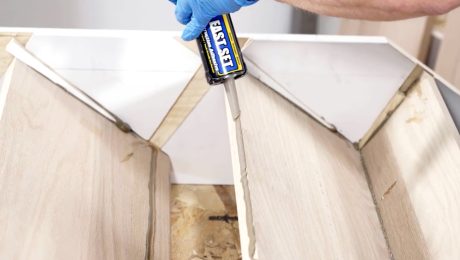
Next, apply a bead of sealant along the back side of the top and side flanges, leaving the bottom unsealed for drainage. Then seat the window on the shims in the rough opening. Tip into place and align the center marks. Then pin the upper corner by installing a single fastener and check for level.
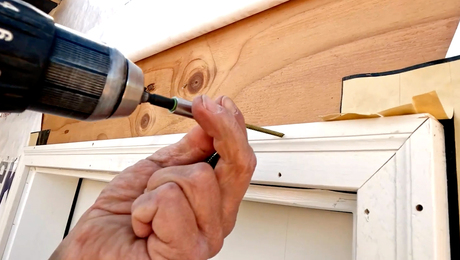
Adjust as needed by lifting or lowering the unfastened side to achieve level. To lock the position, drive a second fastener opposite the first. Double-check for plumb, then continue fastening. This window, made by Andersen, recommends a fastener through every hole on all four sides. Then it’s time for final flashing.
RELATED STORIES


View Comments
Need to dry fit the window unit first and adjust the shims, then caulk and finish fit.