Stud-Spacing Jig
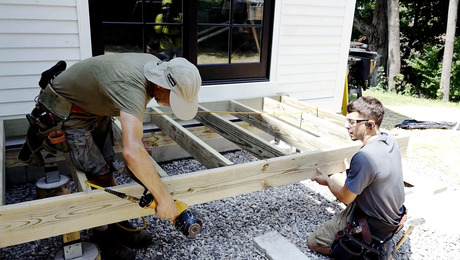
This simple 2x4 jig helps to lay out and install wall studs quickly, and offers extra support for toenailing studs in place.
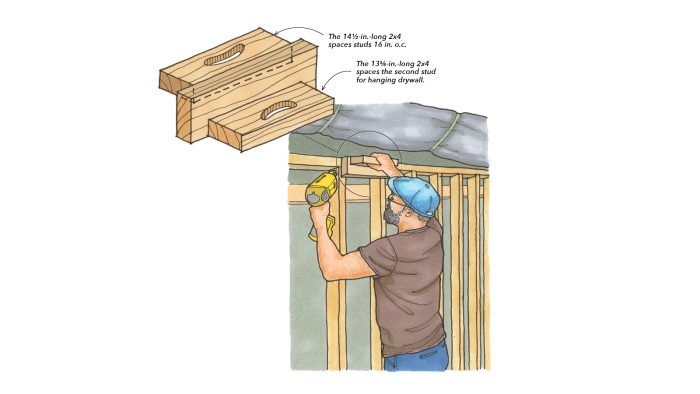
Here’s a jig that isn’t necessarily intended for the seasoned framing carpenter but it may be useful if you’re new to the trades or if you only occasionally frame walls. I came up with this jig, which fits between each stud, to make the framing process faster.
It allows me to skip the layout lines on the top and bottom plates. And for walls that can’t be built on the ground, it works great as a backer to hold each stud secure while I toenail it in place. Once the first stud is in, I use the jig to work my way down the wall.
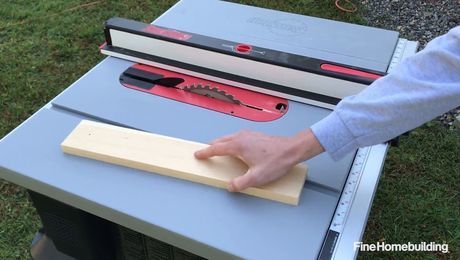
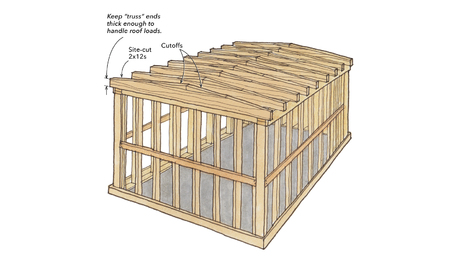
I built the jig out of 2x4s, with a 16-in. center and two sides. One side is 141/2 in. long, which is the distance between two studs laid out 16 in. on-center. The other side is 135/8 in. long. I use that side between the first and second studs on a new wall. That way the drywall will land on the center of the stud when I’m starting from that corner. I also added handles on both sides for convenience.
It’s important to keep in mind that this jig only ensures proper spacing between studs, but it is just as important to make sure that studs are plumb. So start with a plumb stud and double-check periodically that the studs are staying plumb. You may need to make minor adjustments along the way.
— Mark Thill Jr.; @streamline_woodshop. Edited by Mark Petersen.
RELATED STORIES
Got a Tip?
Do you have any great tips like this one on spacing studs like a pro? Share your methods, tricks, and jigs with other readers. Tag them @FineHomebuilding on social, email them to us at [email protected], or upload them to FineHomebuilding.com/reader-tips. We’ll pay for any we publish.
Fine Homebuilding Recommended Products
Fine Homebuilding receives a commission for items purchased through links on this site, including Amazon Associates and other affiliate advertising programs.

Speed Square

Tajima Chalk Rite Chalk Line

QuikDrive PRO300s


View Comments
This tip is a reminder that whenever you have a job that’s repetitive or requires precision in a difficult situation, it may be worth the time and materials it takes to make a jig. My personal favorite is two 2” squares of thin material, nailed or glued together with a ¼” offset both directions, used to set the reveal for trim installations. If you want to get fancy, one square can be 1/8” bigger for gauging a 3/8” reveal too. Always make a couple- someone is sure to “borrow” one.