A Stucco Wall Assembly Done Right
A high-performance rainscreen is crucial to building a successful stucco wall assembly.
Tag along as Doug Cameron of Render ATX installs a durable, high-performance stucco wall assembly. The key component of this assembly is the DELTA®-DRY & LATH rainscreen system. Featuring integrated lath material, this system creates a reliable drainage plane behind the stucco, reducing the risk of rot. Watch the video above or keep reading to learn how Doug installs a stucco wall assembly that’s built to last.
Here’s the Transcript
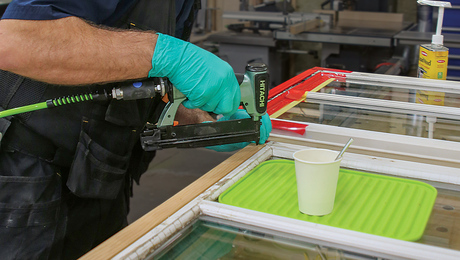
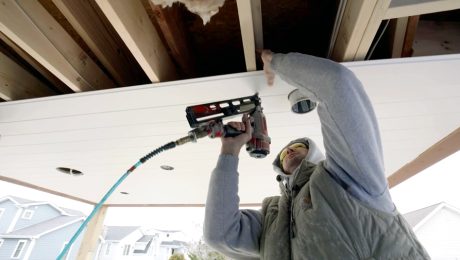
Today we’ll be doing stucco on the entirety of the exterior of this project. This is an example of a stucco rainscreen. This is a dimple mat that provides a full vapor barrier; then it’s got this nice fabric over the top. We’ve done stucco installs like this numerous times; it provides a fantastic drainage plane behind your stucco that will ensure your wall assembly never gets wet. With this assembly, you’ll never rot out your wall and never have a stucco failure.
This particular product has actually been made better with the advent of this integrated lath material. Instead of having the metal lath that we would add afterwards for this sort of product, we now have the lath integrated as an all-in-one installation method. This is the DELTA®-DRY & LATH product, which is essentially the exact same thing as the stucco and stone, except we’re replacing the felt fabric with this lath product — completely adhered to the back of the plastic sheet.
Installing the Assembly
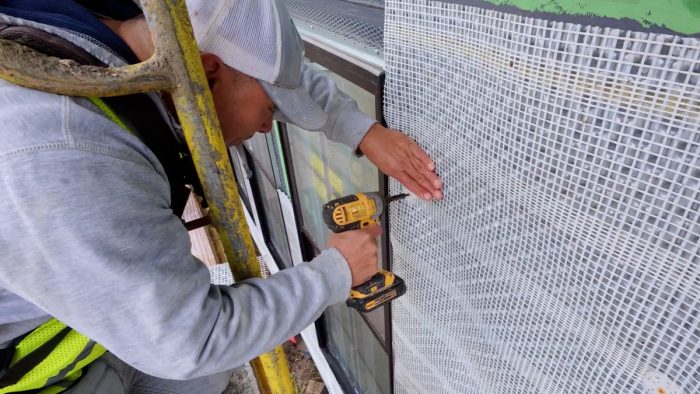
It gets installed in a very similar fashion up against our wall over here. You start with the bug screen, which goes at the base of the wall. You screw it up against the wall or fasten it to the wall. Then you follow up with the DELTA®-DRY & LATH. The DELTA®-DRY & LATH will go over the entire surface of the wall.

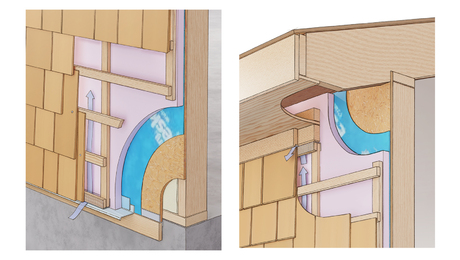
You’ll start with the roll at the bottom of the wall and roll it out horizontally. Then you’ll overlap the lath portion of the DRY & LATH on top of the bug screen. This creates a flush install with the bug screen and the plastic material and a nice continuous overlap of the lath material. Next, you’re going to work your way up the wall and make sure everything is cut nice and tight around all of your windows and all of your penetrations — as tightly as possible.
I brought you a corner because I wanted to point out a specific detail. Rather than have this material meet right here with the seam, we strategically wrap the corner in one solid piece. This will be beneficial for keeping bulk water out of the corner and making this wall more robust and long-lasting.
Next Steps
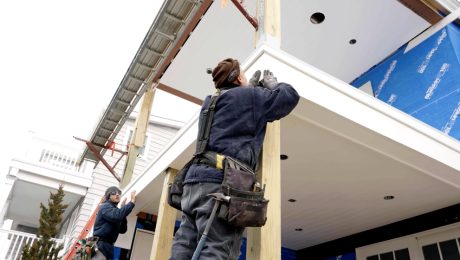
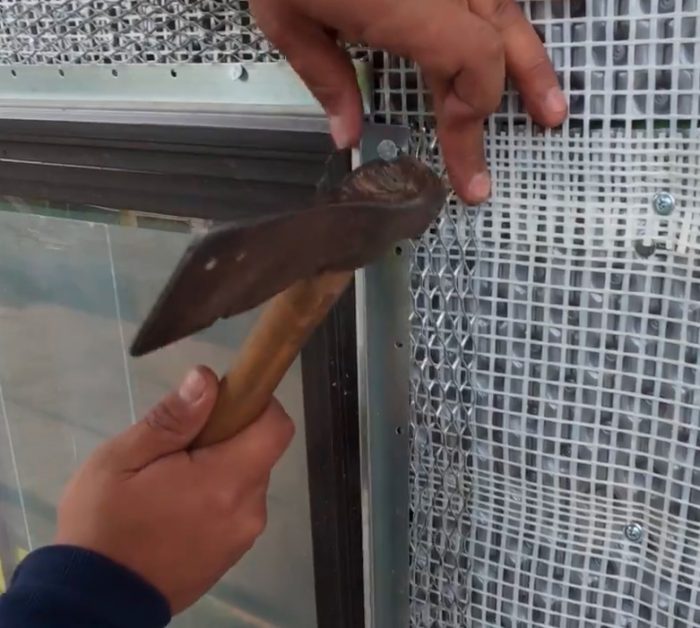
Once we got this up, we went back after installing all of our screws to studs. We’ve used these long screws with the cap fasteners, and that’s just because we’re going an extra-long distance through exterior foam insulation to make sure that we solidify the hold of this rainscreen material to our wall. We’ve gone through and we’ve tried to tack down areas that might be popped up somewhat. We’ve used much smaller screws for those.
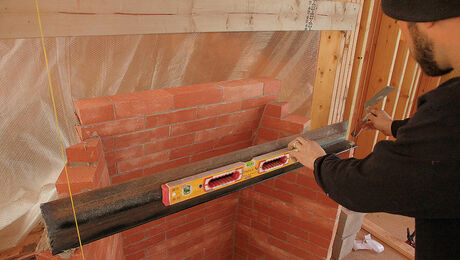
Next, we have put on our 66 — a casing bead — and this is the one for the base of the wall. It’s got some holes in it to allow for a little bit of weepage. This goes outside of the bug screen. Now, when we set the 66 here, to avoid any waves, we set a string so that all the way down the wall we’re able to maintain a nice straight line. Because we’re using screws, we’re able to easily play with this J-bead and ensure that we got the straight line, which is very critical to having a good solid install.
Next, you’ve got your expansion joint. This goes on anytime you need to create a break in the material. This goes on top of the rainscreen. Typically, you want to line these with the edge of a window or edge of a door and try to have some sort of aesthetically pleasing line that you integrate with the building.
Windows, Corners, and More
Now we’re going to wrap all the windows with the metal J-beads as well. We chose a J-width that has a thinner profile — this is a 3/8-in. J-bead versus the wider ones for the base, which are 5/8 in. The reason we went thinner on the window is because the windows come with flanges. The flanges get waterproofed, which creates a natural flare-out right around the windows. We wanted to be able to control that without having to put on an excessive amount of mud.
Now for corners, a metal corner goes on to help contour that nice, pretty corner shape at the edge of the wall. You don’t have to have any concern with the rainscreen making a somewhat oval or rounded corner, because this metal corner will be integrated to make it nice and sharp.
That concludes the installation of all the metal edging, corners, and expansion joints. Tomorrow we’ll get going with our brown coat. After we finish the brown coat and let it dry for at least 48 hours, we’ll move on with our final coat. After that, we’ll have a beautiful stucco wall that can stand the test of time.
— Doug Cameron, co-founder, president, and general contractor of Render ATX.
RELATED STORIES