Rescuing Old Furniture by Refinishing
Sometimes the finish is just too far gone and the old piece demands a refresh to make it attractive and usable — here's one success story.

We all have hand-me-down and garage-sale pieces that don’t warrant a curatorial approach. This article references middle-of-the-road furnishings without provenance and with badly damaged finishes. As a historic-preservation specialist, I offer this caveat: a lot of 18th- through early-20th-century pieces keep their value only if the finish is original. Furthermore, some finishes that appear badly damaged can be brought back without removal. Before altering any finishes, check with an antiques appraiser whom you trust. You may come across a decent find that’s affordable precisely because the finish is a goner.
Depending on the finish and the history of the piece, the finish may have been damaged by water, by ultraviolet light, acid or another spill, nicotine, or pollution. Some finishes tended to polymerize over time, contributing to darkening and alligatoring. Your find may have spent too many years next to the fireplace or sitting in direct sunlight. Or a barn.
Refinishing Victorian Furniture
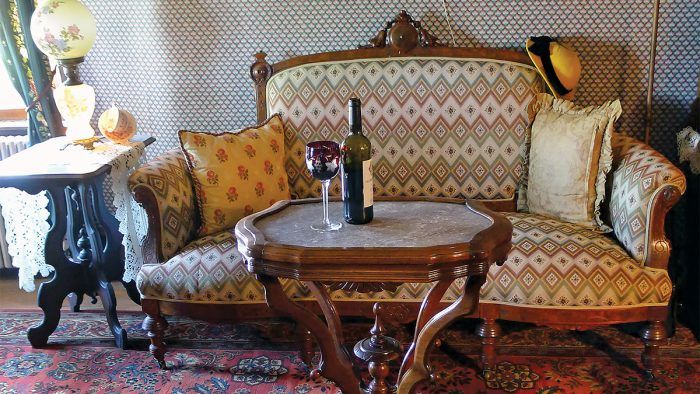
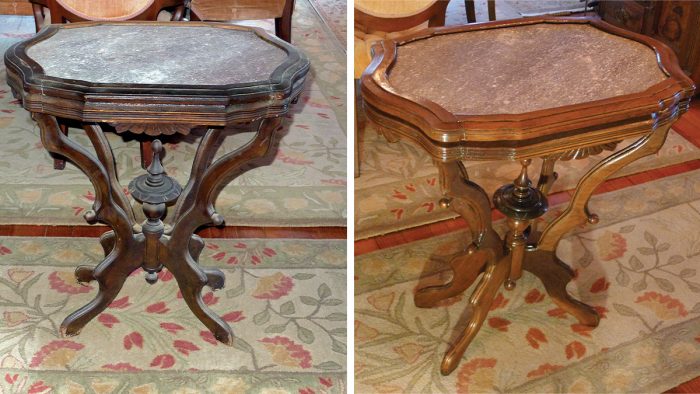
Recently I tackled such a project. The small parlor side table, a rather generic 19th-century piece, was relatively intact save for a loose joint or two. Its finish, however, contributed nothing. From previous forays into furniture restoration, I know that most late-19th-century finishes used on Victorian furniture are a type of shellac, lacquer, or oil varnish.
Testing is easier than you might think. A shellac finish will come off if it is rubbed with denatured alcohol. Lacquer may be softened and removed with acetone (the solvent in nail-polish remover). If the finish does not respond to either solvent, it is likely a varnish. Keep in mind, too, that a piece with multiple owners over 125 or 150 years may have been refinished or a new finish added over the original.
Testing for Finish TypeShellac is the easiest to remove, as it comes off with denatured alcohol. Lacquer is removed with acetone. Varnish needs a stripper.
|
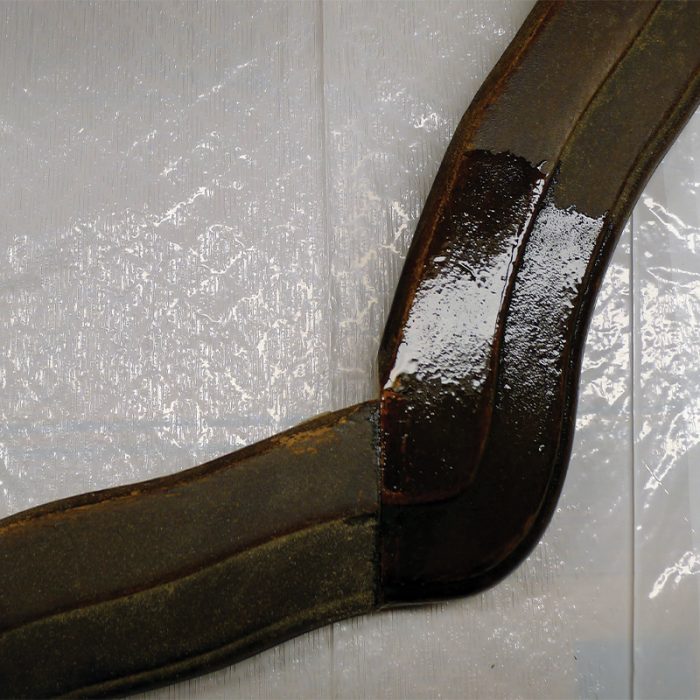

I felt that the existing finish on my table was the original. Brushing denatured alcohol on the surface partially dissolved the finish to confirm it was shellac. If a shellac finish is not in terrible condition, a wipe-down with denatured alcohol, followed by a new coat of shellac, might suffice.
Switching Gears
That wasn’t an option for me. The old finish with its embedded dirt had to go. I decided to use an antique-furniture finish remover by Minwax followed by After Wash by Klean Strip. You should always test various removers in a hidden spot, as what works on one piece may not on the next.
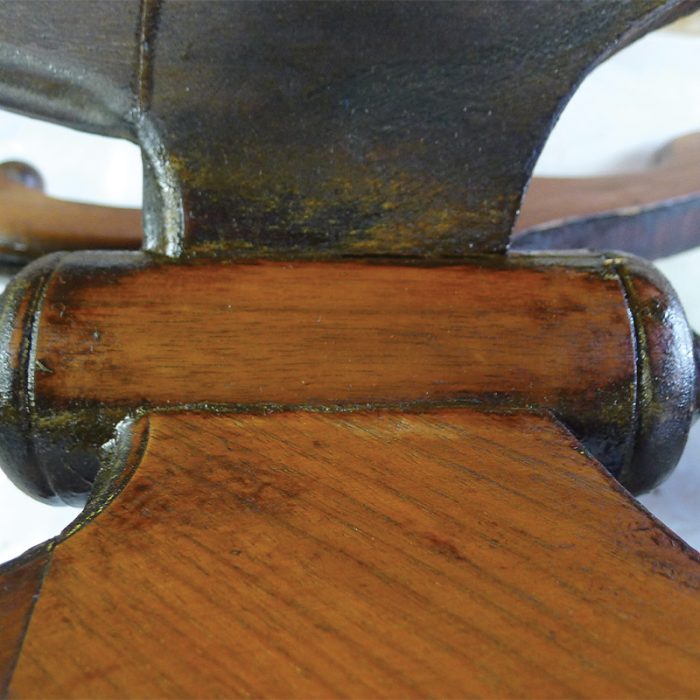
I started by removing the inset marble top to set it aside; just two flathead wood screws secured the frame around the marble to the table apron. Two doweled joints on the apron required regluing; I used a traditional hide glue to allow a longer assembly time and because it is reversible.
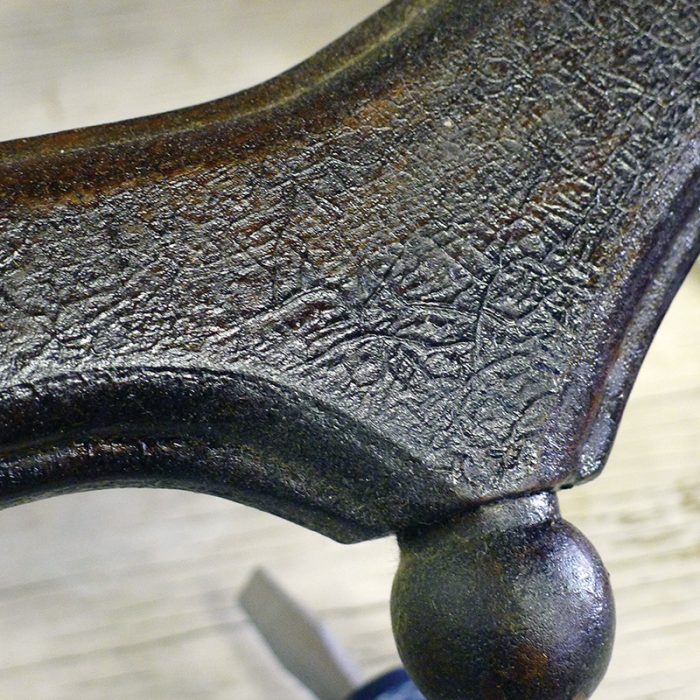
Then I proceeded to remove the wood’s finish from the largest flat areas before tackling the grooves and turned portions. If you are familiar with Victorian-era furnishings, you know that grooves, curves, and turnings are their hallmark. The tools are as basic as they come: the Minwax finish remover, Scotch-Brite pads, 0000 steel wool, the Klean Strip After Wash, rags, an old toothbrush, and a couple of sharpened dowels.
Follow Instructions
Whatever remover or stripper you use, follow the manufacturer’s directions with regard to safety, timing, neutralizing, etc. A well-ventilated space is an absolute necessity. Work outdoors if possible. My remover is mostly denatured alcohol and acetone and does not require neutralizing before a finish is applied. It just needs time to fully evaporate, leaving a clean, dry surface.
Should you choose a paint stripper (to remove, say, varnish or polyurethane), you will probably have to neutralize as they are often alkaline (basic) and the pH has to be brought to neutral before application of a new finish. Follow the instructions.
Shellac is also sold as flakes in shades from white (clear) to amber to garnet. Flaked shellac allows you to mix it to the desired viscosity depending on the proportion of solvent used to dissolve it.
Once the surface was thoroughly dry, I sanded it lightly with 320-grit sandpaper. I chose to use an unpigmented stain mixed 1:1 with walnut stain, resulting in a color that emphasized the grain while minimizing variations in the wood.
A darker stain can de-emphasize the contrast between heartwood and sapwood; in other cases, a dark stain may show up the difference, depending on species and preparation. Always test. Hard-to-stain woods such as maple may benefit from application of a sanding-sealer before staining, to reduce the possibility of blotchiness.
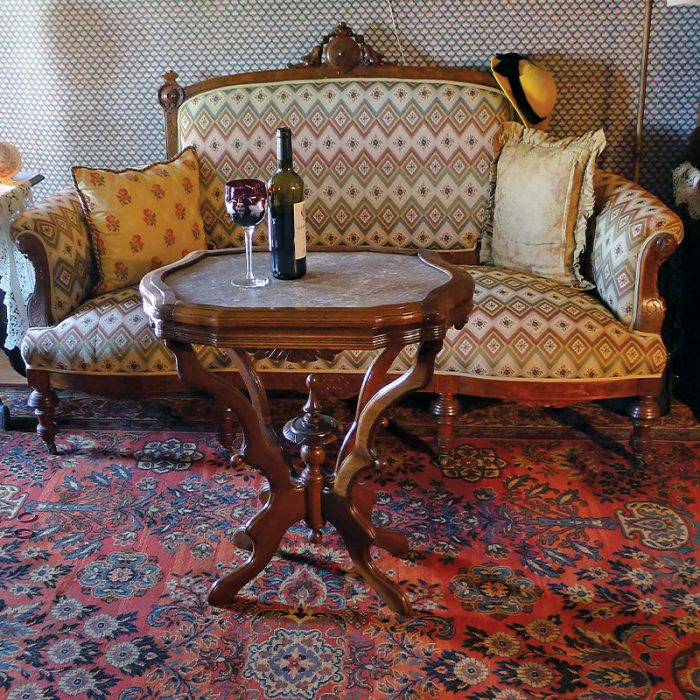
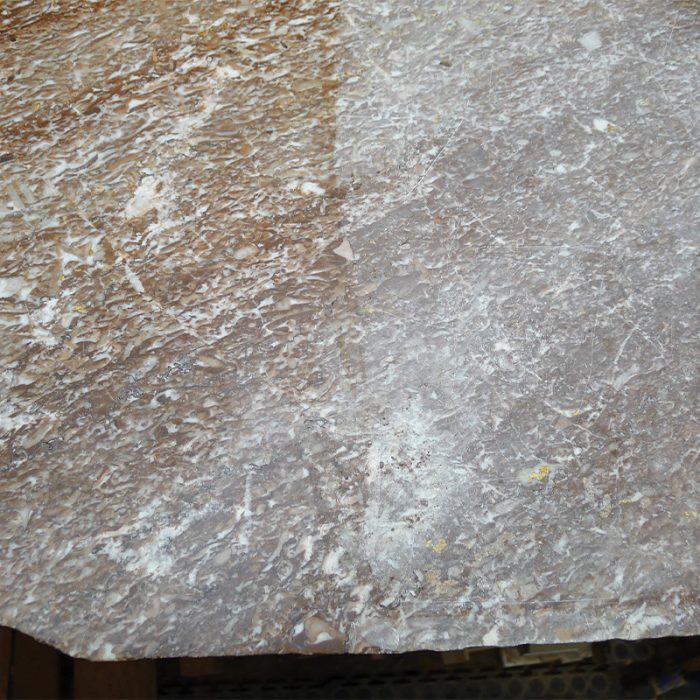
Finally, I applied pre-mixed clear shellac from a can, using a brush. I sanded lightly between coats, three in all, and finished with a light rub using 0000 steel wool to reduce gloss. The marble got only a quick polish with Renaissance wax.
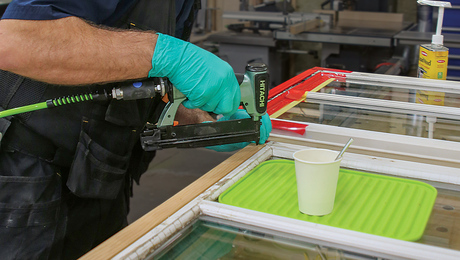
The Process
Many 19-century pieces were finished with shellac, making it relatively easy to renew or even strip furniture.
|
|
|
|
Resources
|
— Written by Ray Tschoepe, photos courtesy of the author.
RELATED STORIES